I've decided to use my creativity to make my flower bed a little more whimsical. Seeing the
Pinterest posts for fairy gardens really inspired me to give it a try. After all,
Fairy Gardens are ALL the rage. Not only do I have an entire
board full of pins and ideas and spent a few (many) evenings on
Etsy looking up fairy garden ideas and figuring out how to make things myself.
For my fairy garden, it's going to be a process. I am making it a bonding experience with my 4-year old step-daughter. We will clean out the flower bed, make it pretty, add nice flowers and make it "welcome for the fairies" and the morning before she comes for a visit, I'll add something new to the fairy garden. Eventually, the fairy will officially move in (ie. there will be a door).
One of the first things I wanted to do was make the stepping stones.
Materials:
White Sculpey
Black Sculpey
Glass seed beads
Glitter Mod Podge
First I mixed the white with a little black and ran it thought the conditioner machine to make it soft. If you have ever worked with Sculpey, you know what a pain in the ass it is to start working. It's hard and sometimes crumbly if it's old. The conditioning machine makes it a million times faster and easier and saves your aching hands.

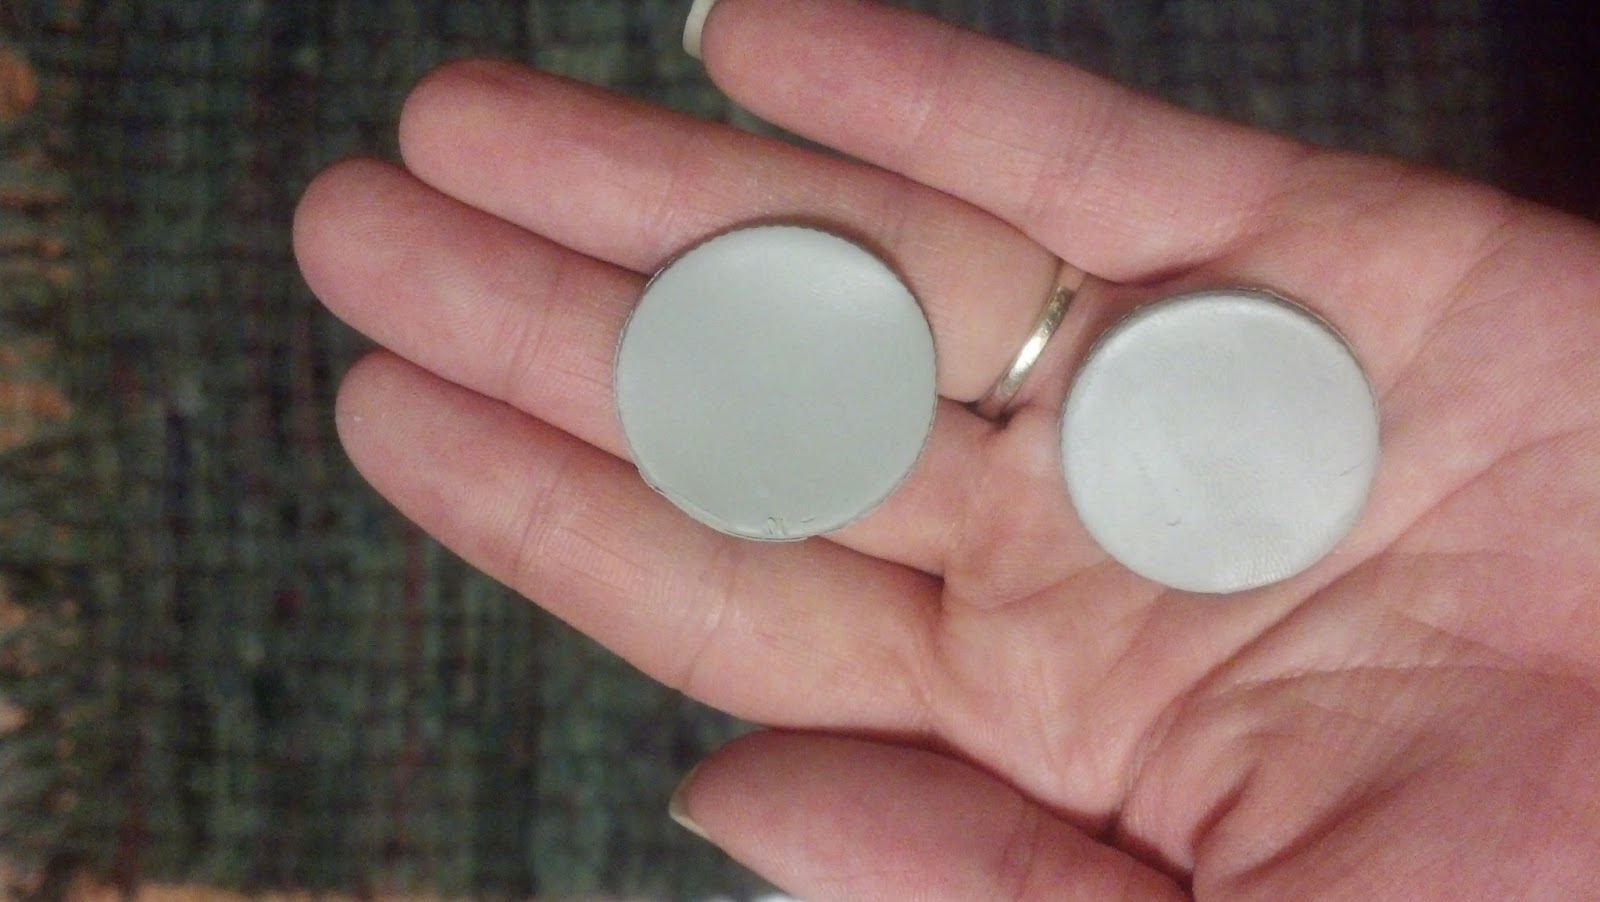
Next I cut out little circles. I used the cap to my rum bottle. It was the perfect size and conveniently the rum was open and on the counter so I made myself some summer lemonade.

I dipped the clay circles into the seed beads. Then I pressed more into the surface to make sure the whole thing was covered. Make sure you use glass beads. Plastic beads might melt in the oven when you bake the clay. Also, plastic fades and as it is outside exposed to the elements, the color may dull.

Here's what it looks like covered in beads.
Bake at 325 for about 10-15 minutes. I made sure these were about 1/4" or so thick so they don't move around too much in the flower bed. If I make more, I may put a wire in the bottom to help them stay still.
Once they were done baking and cool, I painted a layer of glitter Mod Podge over the top to help seal it and add another sparkle element. Once dry, I flipped them over and painted the backs and sides.
Here is the completed path on the ground. (Sorry for the blurry pic. Camera phone.)
Also on my to-make list: a door, windows, tire swing, mushrooms, snails, a bird house, a bird bath, a garden gazing ball and anything else I can dream up! Look for more fairy garden tutorials and ideas soon!